Learning how to use a coffee percolator can elevate your coffee game. It’s simple, rewarding, and delivers bold, delicious coffee that everyone will love.
A coffee percolator might seem old-fashioned, but its charm is undeniable. It creates a rich, aromatic coffee experience. Unlike modern machines, a percolator uses a repeated brewing cycle. Water bubbles up, passes through the coffee grounds, and enhances the flavor with each cycle.
It’s a straightforward process. But, it requires some know-how to get it just right. This guide will walk you through the steps to using a coffee percolator. Whether you’re a coffee enthusiast or a curious beginner, you’ll find it easy to follow and rewarding. Ready to enjoy a perfect cup of percolator coffee? Let’s get started.
Choosing The Right Percolator
Using a coffee percolator can be a delightful way to brew your morning coffee. The process may seem old-fashioned, but it yields a rich and aromatic cup. Choosing the right percolator is crucial to ensure you get the best flavor and experience. Let’s delve into the essentials of selecting the perfect percolator for your needs.
Types Of Percolators
There are several types of coffee percolators available, each with unique features and benefits. Understanding these types can help you make an informed decision:
- Stovetop Percolators: These are the classic percolators that you place on a stove. They are simple to use and don’t require electricity.
- Electric Percolators: These percolators have built-in heating elements. They are convenient and often come with automatic shut-off features.
- Microwave Percolators: These are designed to be used in a microwave, offering a modern twist on traditional brewing.
- Camping Percolators: Made for outdoor use, these are durable and often designed to be used over an open flame or campfire.
Each type has its pros and cons. Stovetop percolators are affordable and straightforward but require more attention during brewing. Electric percolators are convenient and easy to use but can be more expensive. Microwave percolators are quick and efficient but may not provide the same depth of flavor. Camping percolators are robust and great for outdoor enthusiasts but can be bulky.
Size Matters
The size of the percolator is another important factor to consider. The right size depends on how much coffee you typically brew and drink:
- Small Percolators: Ideal for single servings or small households. They usually brew 2-4 cups of coffee.
- Medium Percolators: Suitable for families or small groups. These can brew about 6-8 cups.
- Large Percolators: Best for gatherings or heavy coffee drinkers. They can brew 10 or more cups at a time.
Choosing the right size ensures you don’t waste coffee or end up brewing too little. A small percolator is perfect for personal use, while a large one is great for entertaining guests. Consider your daily coffee needs and select a size that matches your lifestyle.
To help you decide, here’s a quick reference table:
| Percolator Size | Cups Brewed | Best For |
|---|---|---|
| Small | 2-4 cups | Single users or small households |
| Medium | 6-8 cups | Families or small groups |
| Large | 10+ cups | Gatherings or heavy coffee drinkers |
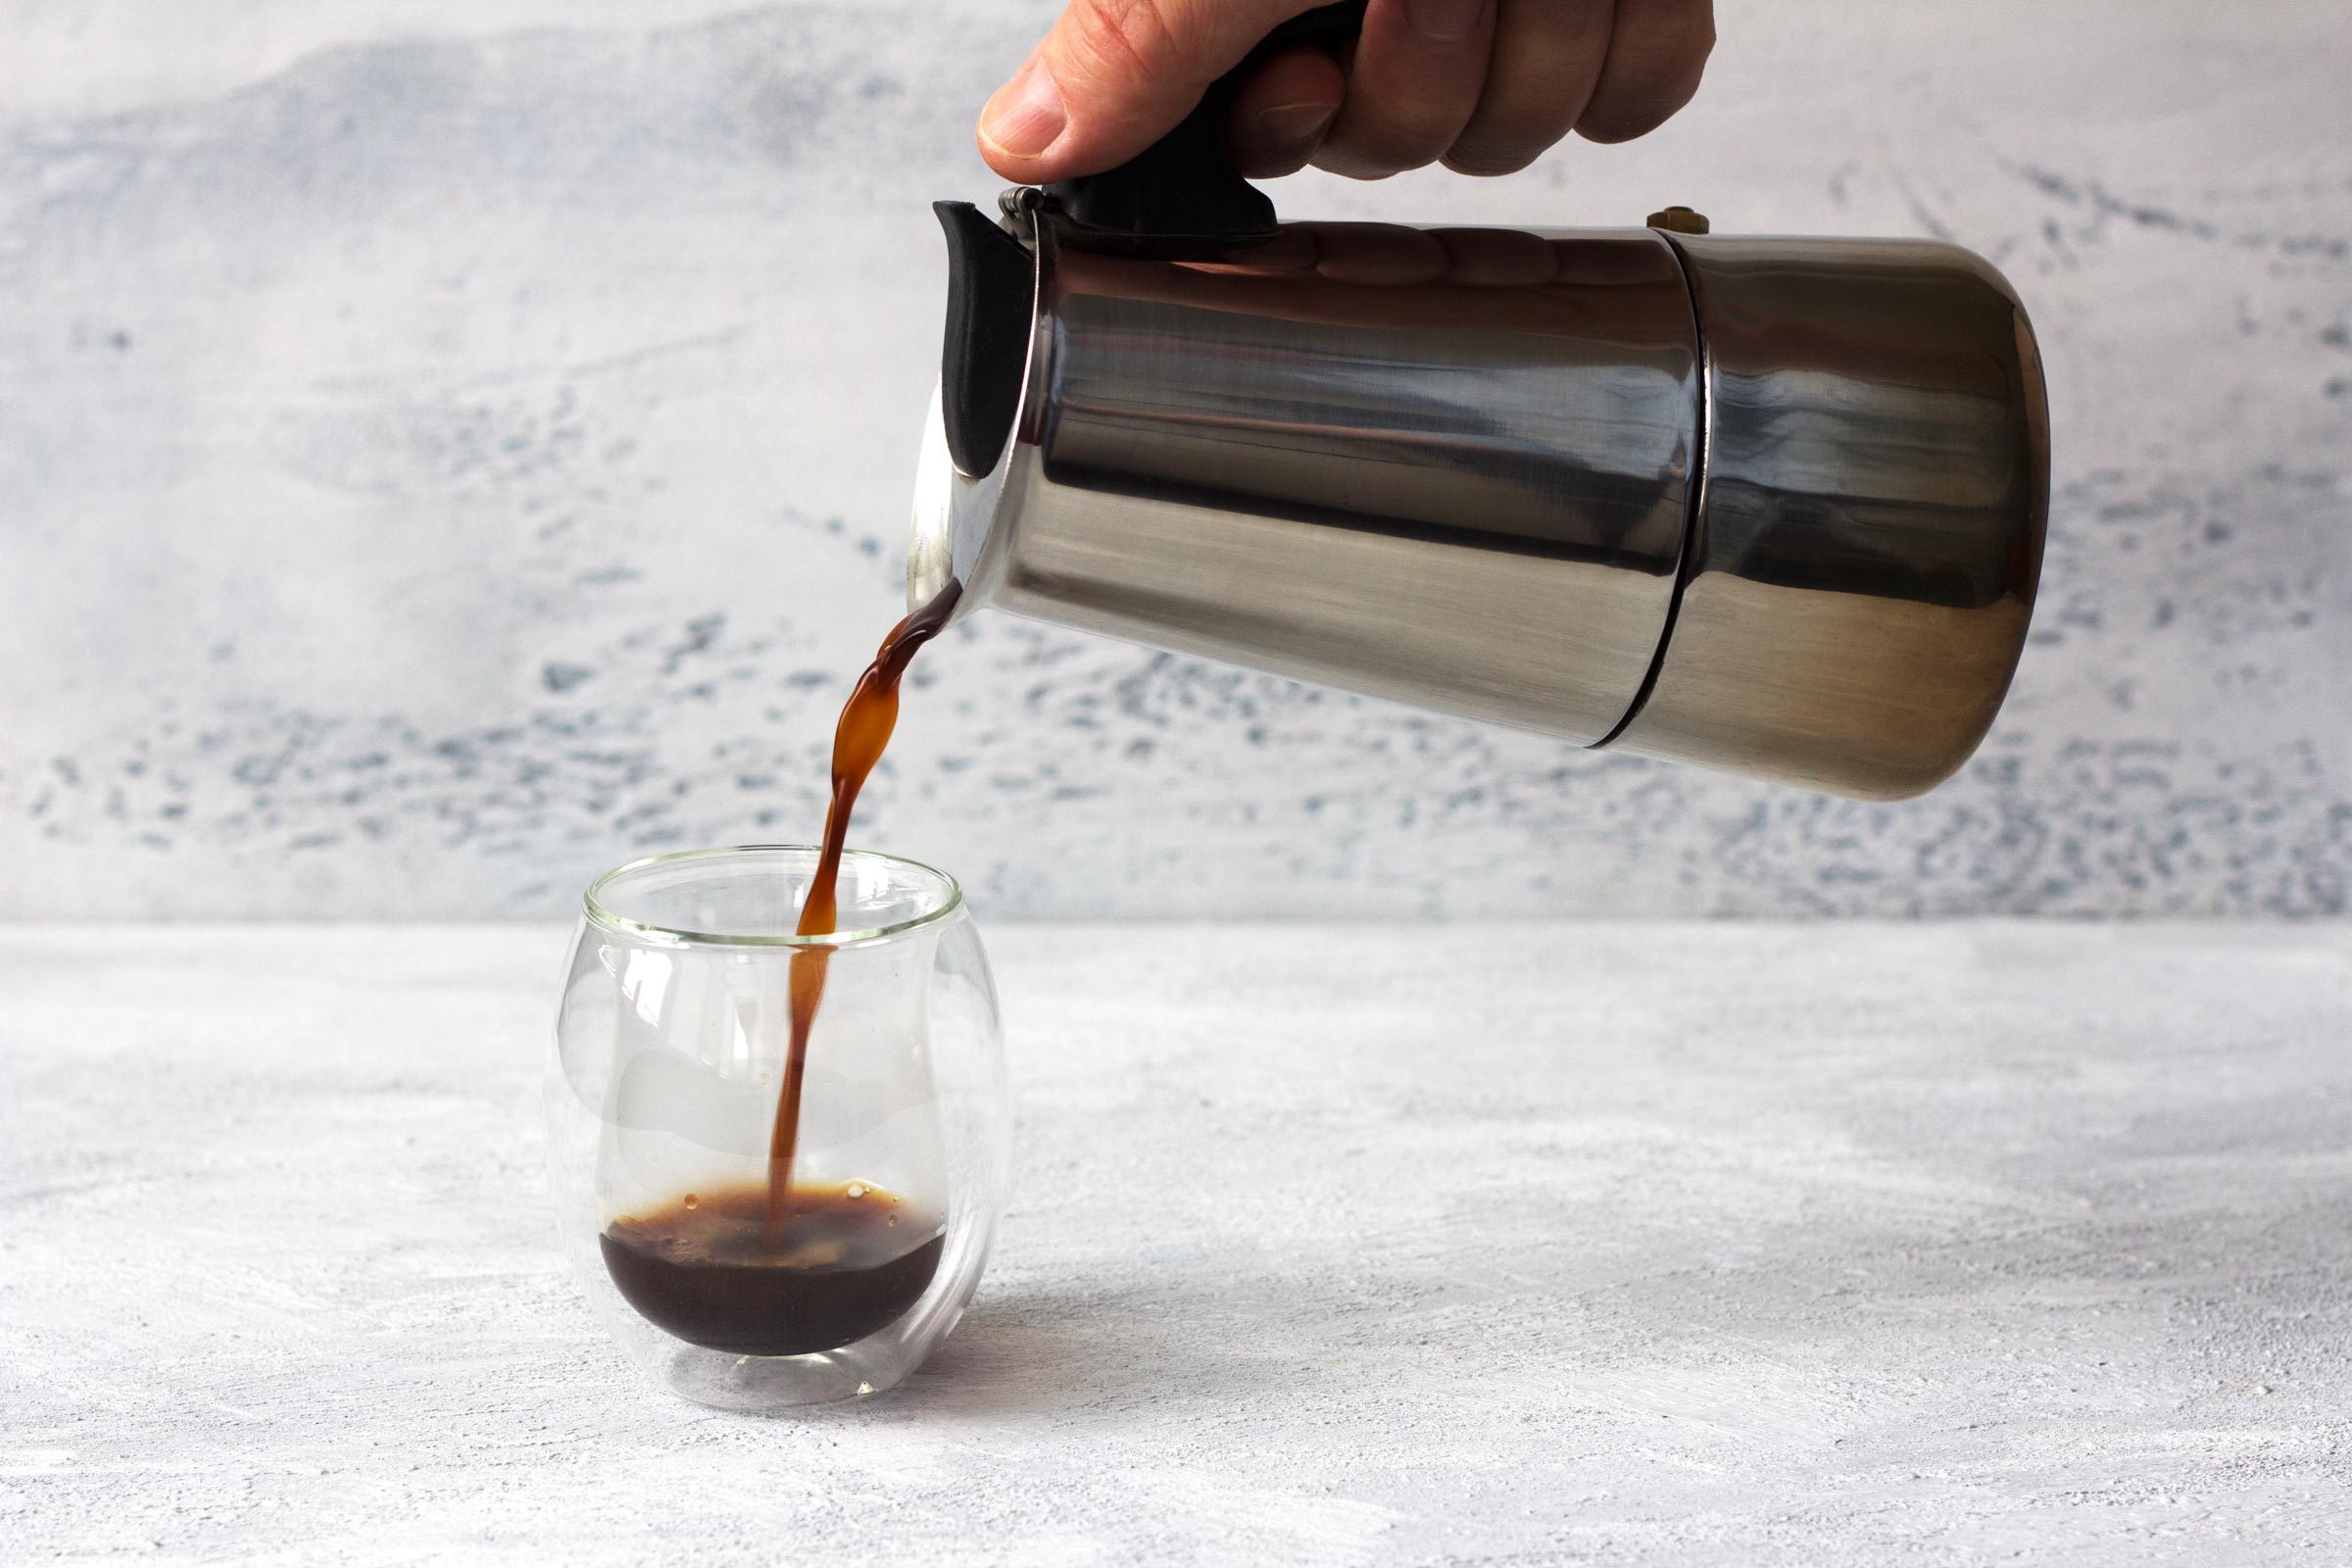
Ultimately, the right percolator size ensures you enjoy fresh, delicious coffee every time. Think about how much coffee you need and choose accordingly.
Credit: www.tasteofhome.com
Essential Tools And Ingredients
Using a coffee percolator can be a delightful way to make coffee. It brings a rich, full-bodied flavor that many coffee lovers enjoy. To make a perfect cup, you need the right tools and ingredients. Here’s a guide to help you with the essential tools and ingredients.
Coffee Beans Selection
Choosing the right coffee beans is crucial. The type of beans you use will greatly affect the flavor of your coffee. Here are some tips for selecting the best beans for your percolator:
- Freshness: Always use fresh coffee beans. Check the roast date on the packaging. Coffee is best within two weeks of roasting.
- Grind Size: For a percolator, medium-coarse grind size works best. Finer grinds can make the coffee bitter, and coarse grinds may result in weak coffee.
- Flavor Profile: Consider the flavor notes. Light roast beans often have fruity or floral notes, while dark roast beans are more robust and have chocolatey or nutty flavors.
Here’s a quick guide to help you choose:
| Roast Type | Flavor Notes |
|---|---|
| Light Roast | Fruity, Floral |
| Medium Roast | Balanced, Sweet |
| Dark Roast | Bold, Chocolatey |
Remember, the grind size and the roast type can make a significant difference. Take your time to experiment with different beans. Finding the perfect one for your taste can be a rewarding experience.
Water Quality
Water is the main ingredient in coffee, so its quality can influence the taste. Here are some important points about water quality:
- Freshness: Use fresh, cold water. Avoid water that has been sitting for a long time.
- Purity: Use filtered or bottled water. Tap water can contain impurities that affect the flavor. Avoid distilled water as it lacks minerals that enhance the coffee’s flavor.
- Temperature: The water should be between 195°F and 205°F. Too hot or too cold water can ruin the taste. A kitchen thermometer can help you get the right temperature.
Here’s a simple table for quick reference:
| Water Type | Recommendation |
|---|---|
| Tap Water | Not Recommended |
| Filtered Water | Recommended |
| Bottled Water | Recommended |
| Distilled Water | Not Recommended |
Using the right water can make a big difference. It ensures your coffee tastes clean and full of flavor. Always pay attention to the water you use. It’s as important as the coffee beans.
Preparing The Percolator
Using a coffee percolator can be a delightful way to brew a rich, aromatic cup of coffee. Before you start brewing, it’s crucial to prepare the percolator correctly. Proper preparation ensures the best flavor and a smooth coffee-making experience.
Cleaning The Components
Before you use your percolator for the first time, clean all its components thoroughly. Regular cleaning keeps your coffee tasting fresh and prevents any unwanted flavors. Follow these steps to clean your percolator:
- Disassemble the percolator into its main parts: the pot, basket, stem, and lid.
- Rinse each part under warm water to remove any loose debris.
- Use a mild dish soap and a soft sponge to clean each component. Be gentle to avoid scratching the surfaces.
- For stubborn stains, make a paste with baking soda and water. Apply the paste to the stains and scrub gently.
- Rinse all parts thoroughly to remove any soap residue.
- Dry each component with a clean towel or let them air dry completely before reassembling.
Here’s a quick reference table for cleaning frequency:
| Component | Cleaning Frequency |
|---|---|
| Pot | After each use |
| Basket | After each use |
| Stem | Weekly |
| Lid | Weekly |
Keeping your percolator clean ensures your coffee always tastes its best. Now that the components are clean, it’s time to set up the pot.
Setting Up The Pot
With your components clean, you can start setting up the percolator. Follow these steps for a seamless brewing process:
- Assemble the percolator: Start by placing the stem into the pot. Attach the basket to the top of the stem.
- Add water: Fill the bottom chamber with cold water. Use the measurement markings inside the pot as a guide.
- Measure coffee grounds: Use coarsely ground coffee for the best results. The general rule is one tablespoon of coffee per cup of water.
- Place coffee grounds: Add the measured coffee grounds into the basket. Spread them evenly for uniform brewing.
- Secure the lid: Place the lid on the basket and ensure it fits snugly. This prevents coffee grounds from spilling into the water.
- Position the lid: Finally, place the lid on the pot. Make sure it is secure to retain heat and pressure during brewing.
Now your percolator is ready for brewing. Place it on a heat source and wait for the magic to happen. The key is to maintain a steady heat for a consistent, flavorful brew.
Measuring Ingredients
Using a coffee percolator can be a delightful experience, especially when you get the right mix of coffee and water. Measuring ingredients correctly is crucial to brew a perfect cup of coffee. Let’s explore how to measure the ingredients for your coffee percolator.
Coffee-to-water Ratio
Getting the coffee-to-water ratio right is essential for making a great cup of coffee. The standard ratio is usually 1 tablespoon of coffee per 8 ounces of water. This ratio can vary based on personal preference and the type of coffee you are using.
Here’s a simple guide to help you:
| Water (Ounces) | Ground Coffee (Tablespoons) |
|---|---|
| 8 | 1 |
| 16 | 2 |
| 24 | 3 |
| 32 | 4 |
- Use fresh, cold water for the best flavor.
- Ensure your coffee grounds are consistent for even brewing.
- Measure the water accurately to avoid weak or overly strong coffee.
Using the right ratio ensures a balanced flavor, making your coffee neither too strong nor too weak.
Adjusting Strength
Adjusting the strength of your coffee allows you to cater to different tastes. If you prefer a stronger coffee, you can increase the amount of coffee grounds. Conversely, for a milder taste, reduce the amount of coffee grounds.
- For a stronger coffee, use 1.5 tablespoons of coffee per 8 ounces of water.
- For a milder coffee, use 0.75 tablespoons of coffee per 8 ounces of water.
| Desired Strength | Water (Ounces) | Ground Coffee (Tablespoons) |
|---|---|---|
| Strong | 8 | 1.5 |
| Mild | 8 | 0.75 |
- Experiment with different strengths to find your ideal taste.
- Keep notes on your preferred ratios for future reference.
- Consider the type of coffee beans; some have a naturally stronger flavor.
By adjusting the strength, you can enjoy a cup of coffee that perfectly matches your taste preferences.
Brewing Process
Using a coffee percolator can bring out rich flavors and aromas from your coffee beans. The brewing process requires some steps to ensure you get a perfect cup every time. Let’s dive into the essential steps to master the brewing process using a coffee percolator.
Heat Source Options
Choosing the right heat source is crucial for brewing coffee with a percolator. You have a few options to consider:
- Stovetop: The traditional method involves placing the percolator on a stove. This method gives you control over the heat intensity.
- Electric: Electric percolators are convenient and easy to use. They come with built-in heaters and automatic shut-off features.
- Campfire: Perfect for outdoor enthusiasts. Place the percolator directly over a campfire or grill.
Here’s a quick comparison of these options:
| Heat Source | Control | Convenience |
|---|---|---|
| Stovetop | High | Moderate |
| Electric | Moderate | High |
| Campfire | Low | Low |
Stovetop percolators require you to monitor the heat closely. Electric percolators are user-friendly but may lack the traditional brewing charm. Campfire brewing is adventurous but demands patience and experience.
Timing The Brew
Timing is key to a perfect brew. Follow these steps to ensure you get the best results:
- Prep the Percolator: Add water to the bottom chamber. Place ground coffee in the filter basket.
- Start the Heat: Place the percolator on your chosen heat source. Wait for the water to reach a boil.
- Monitor the Percolation: Once the water starts to percolate, reduce the heat. Allow it to brew for 5-10 minutes.
- Check the Color: The coffee should be a rich, dark color. If it looks too light, give it a few more minutes.
- Remove from Heat: Take the percolator off the heat source. Let it sit for a minute before pouring.
Here’s a handy timing guide:
| Desired Strength | Brewing Time |
|---|---|
| Mild | 5-6 minutes |
| Medium | 6-8 minutes |
| Strong | 8-10 minutes |
Keep an eye on the brew time to avoid over-extraction, which can make the coffee bitter. Practice makes perfect, so don’t be afraid to adjust the timing to suit your taste preferences.

Credit: www.oxo.com
Monitoring The Brew
Using a coffee percolator is a classic way to make a delicious cup of coffee. The process involves hot water cycling through the coffee grounds, extracting rich flavors. A crucial part of this process is monitoring the brew. By keeping an eye on certain aspects, you can ensure your coffee turns out perfect every time. Let’s dive into the details of monitoring the brew.
Watching For Bubbles
One of the key indicators that your coffee is brewing properly is the presence of bubbles. These bubbles appear in the glass knob or the clear top of your percolator. Watching these bubbles can tell you a lot about the brewing process.
Here are some points to consider:
- Initial Bubbles: When you first turn on the percolator, you should see large, slow bubbles. This means the water is heating up and beginning to cycle through the coffee grounds.
- Consistent Bubbles: As the brewing continues, the bubbles should become more consistent. They will be smaller and more frequent. This indicates that the water is at the right temperature and is properly extracting the coffee flavors.
- Too Many Bubbles: If you see a lot of bubbles very quickly, the water may be boiling too rapidly. This can lead to over-extraction and a bitter taste. Reduce the heat slightly to maintain a steady bubble rate.
By watching the bubbles, you can adjust the heat to ensure a smooth brewing process. This helps in achieving the perfect balance and flavor in your coffee.
Color Changes
The color of the coffee is another important factor to monitor during the brewing process. As the water cycles through the coffee grounds, it extracts color along with flavor. Observing these color changes can help you determine when your coffee is ready.
Consider these stages:
- Light Brown: At the start, the coffee will be a light brown color. This means that the water is just beginning to extract the coffee flavors.
- Medium Brown: As the brewing continues, the color will deepen to a medium brown. This stage indicates that the coffee is extracting well and developing its full flavor.
- Dark Brown: When the coffee reaches a dark brown color, it is almost ready. This deep color means that the coffee has been fully extracted and is rich in flavor.
Take note:
- Too Light: If the coffee remains too light for too long, it may be under-extracted. Try adjusting the heat or the grind size of your coffee.
- Too Dark: If the coffee turns very dark quickly, it may be over-extracted and could taste bitter. Again, adjust the heat or the grind size to find the perfect balance.
By keeping an eye on the color changes, you can fine-tune your brewing process. This ensures that your coffee is neither too weak nor too bitter, but just right.
Serving The Coffee
Using a coffee percolator to brew your coffee is a delightful and nostalgic experience. Once you have brewed the perfect cup, the next step is serving the coffee. This part of the process is just as important as brewing. It ensures you enjoy your coffee to the fullest. Let’s explore some tips for serving your coffee, starting with choosing the right mug and adding the perfect garnishes.
Choosing The Right Mug
The mug you choose can enhance your coffee experience. It’s not just about aesthetics. The material and size matter too.
Here are some tips to help you choose the right mug:
- Material: Ceramic and porcelain mugs retain heat well. They keep your coffee warm for longer. Stainless steel mugs are durable and often come with lids. These are great for keeping your coffee hot and preventing spills.
- Size: If you enjoy a large cup of coffee, choose a mug with at least 12 ounces of capacity. For a smaller, more concentrated brew, an 8-ounce mug might be ideal.
- Handle: A mug with a comfortable handle is important. It should be easy to hold, especially when the mug is full and hot.
Consider these factors when selecting your mug:
| Material | Pros | Cons |
|---|---|---|
| Ceramic | Retains heat, available in many designs | Can break easily |
| Porcelain | Elegant, retains heat | Fragile |
| Stainless Steel | Durable, often has a lid | May alter taste |
Garnishing Options
Garnishing your coffee can enhance its flavor and presentation. Simple additions can turn a regular cup of coffee into a gourmet experience.
Here are some popular garnishing options:
- Cinnamon: Sprinkling a bit of cinnamon on top of your coffee adds a warm and spicy flavor. It’s perfect for autumn and winter mornings.
- Chocolate Shavings: Adding chocolate shavings creates a mocha-like taste. It’s a treat for chocolate lovers.
- Whipped Cream: A dollop of whipped cream on top makes your coffee richer and creamier. It’s a great addition for special occasions.
- Nutmeg: Nutmeg adds a nutty and slightly sweet flavor. Just a pinch can make a big difference.
- Vanilla Extract: A few drops of vanilla extract can add a subtle sweetness and a lovely aroma to your coffee.
Experiment with these garnishes:
| Garnish | Flavor | Best For |
|---|---|---|
| Cinnamon | Warm, spicy | Autumn, winter |
| Chocolate Shavings | Sweet, rich | Mocha lovers |
| Whipped Cream | Creamy, rich | Special occasions |
| Nutmeg | Nutty, sweet | Adding warmth |
| Vanilla Extract | Sweet, aromatic | Everyday coffee |
Try different combinations to find what you like best. Each garnish can bring out different flavors in your coffee.
Cleaning And Maintenance
A coffee percolator can brew a rich and aromatic cup of coffee. But to enjoy this, keeping your percolator clean is crucial. Regular cleaning and maintenance ensure your percolator lasts longer and your coffee tastes better.
Daily Cleaning Tips
Daily cleaning is simple and keeps your coffee percolator in good condition. Follow these steps each day:
- Unplug the Percolator: Always make sure to unplug the percolator before cleaning.
- Disassemble the Parts: Remove the lid, basket, stem, and base.
- Rinse with Warm Water: Rinse all removable parts with warm water.
- Mild Detergent: Use a mild detergent and a soft sponge. Avoid abrasive cleaners.
- Clean the Base: Wipe the base with a damp cloth. Do not immerse it in water.
- Dry Thoroughly: Make sure all parts are completely dry before reassembling.
Here’s a quick reference table:
| Step | Description |
|---|---|
| Unplug | Ensure the percolator is unplugged. |
| Disassemble | Remove lid, basket, stem, and base. |
| Rinse | Rinse with warm water. |
| Detergent | Use mild detergent and soft sponge. |
| Base | Wipe with a damp cloth. |
| Dry | Dry thoroughly before reassembling. |
Long-term Care
For long-term care, deeper cleaning is needed. This helps remove any build-up and keeps your percolator in prime condition. Follow these steps every month:
- Deep Clean the Parts: Soak removable parts in a mixture of equal parts vinegar and water for 30 minutes.
- Scrub: Use a soft brush to scrub the parts gently.
- Rinse Thoroughly: Rinse all parts with warm water to remove vinegar residue.
- Descale the Percolator: Fill the percolator with a vinegar and water solution and run a brew cycle. This descaling process removes mineral build-up.
- Rinse Cycle: Run a cycle with clean water to remove any remaining vinegar.
- Check the Cord: Inspect the power cord and plug for any damage. Replace if necessary.
Here’s a summary:
| Step | Description |
|---|---|
| Soak | Soak parts in vinegar and water. |
| Scrub | Gently scrub with a soft brush. |
| Rinse | Rinse thoroughly with warm water. |
| Descale | Run a brew cycle with vinegar solution. |
| Rinse Cycle | Run a cycle with clean water. |
| Inspect Cord | Check the power cord for damage. |
Regular maintenance ensures your coffee percolator stays clean and functional for years. Consistent cleaning not only prolongs the life of your percolator but also enhances the flavor of your coffee.

Credit: www.youtube.com
Frequently Asked Questions
What Is A Coffee Percolator?
A coffee percolator is a type of pot used to brew coffee. It continuously cycles boiling water through coffee grounds to create a rich, strong flavor.
How Does A Coffee Percolator Work?
A coffee percolator works by cycling boiling water through coffee grounds. The water is heated, rises through a tube, and drips over the grounds repeatedly.
How Long Should I Percolate Coffee?
Percolate coffee for 7-10 minutes to achieve a balanced flavor. Over-percolating can make the coffee bitter, so monitor the time closely.
What Type Of Coffee Is Best For Percolators?
Medium to coarse ground coffee works best in percolators. Fine grounds can clog the filter and affect the brewing process.
Conclusion
Making coffee with a percolator is simple and enjoyable. Follow the steps carefully. Enjoy rich, flavorful coffee every time. Practice helps you perfect the process. Soon, brewing coffee will be second nature. Share your percolator coffee with friends. They will appreciate the robust taste.
Happy brewing and savor your coffee moments!
